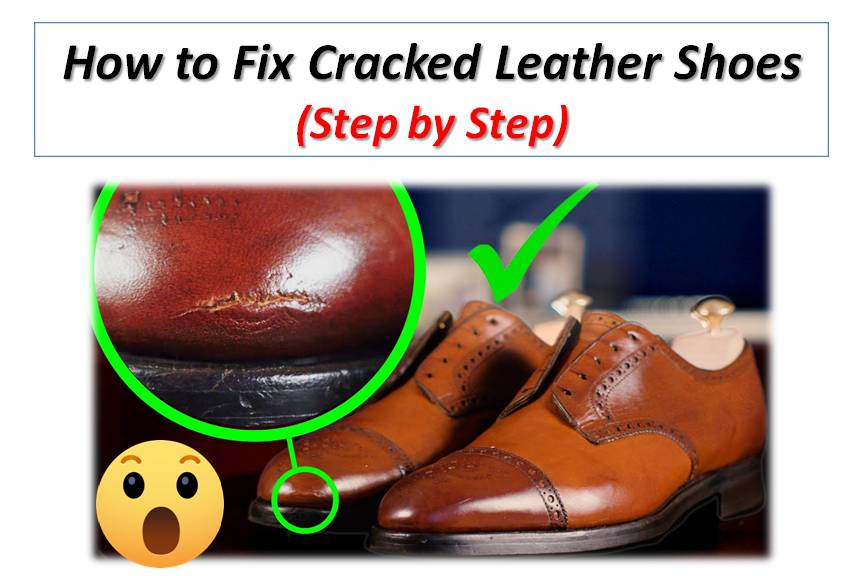
How to Fix Cracked Leather Shoes (Step by Step)
There are good reasons why leather is the preferred choice of material for a boot or shoe’s upper material. One of these reasons is that real leather work shoes or boots can outlast other shoes produced using synthetic materials. Nonetheless, some individuals do not like purchasing leather because it is prone to cracking. When leather dries out, cracks inevitably start to develop. Happily, there are easy and inexpensive ways to fix cracked leather shoes at home. Below is a handy guide on how to repair cracked leather shoes.
See also: How to Remove Creases From Leather Shoes
Table of Contents
How to Fix Cracked Leather Shoes (AT HOME)
Use Leather Conditioner to Fix Slight Leather Cracks on Shoes
This technique works best on leather shoes that have only slight cracks on them. A strong leather conditioner can help strengthen the fibers around the cracks. Done properly, the conditioner will cover the cracks such that the blemish nicely blends in with the remainder of the leather.
Materials you will require:
- A top-quality leather cream or conditioner
- Mild soap
- Soft cloth or soft-bristled brush
- A spoon or sponge
- Fine-bristled brush
- Microfiber cloth
- Water
Instructions
Ist Step: Clean the leather shoes
Take the soft cloth and dampen it within a solution of water and mild soap. Next, use this damp cloth to clean the cracked sections of your leather shoe as well as the surrounding leather. Do this to take out as much grime as possible. Dirt can prevent the leather conditioner from performing its job properly. Wipe off any excess soap water solution using the microfiber cloth. Then, let your shoes dry naturally.
2nd Step: Apply the conditioner to the cracked surface
Apply the leather conditioner or cream to the cracked areas of your shoe using a finger, spoon (the back side) or a sponge. Apply enough conditioner to make the cracks as less visible as possible. You can also apply the treatment all over the shoe’s surface. This will help prevent future cracks. Wipe off any excess conditioner using a microfiber cloth and leave your shoes to dry naturally. If possible, leave the shoes overnight to dry. This will allow enough time for the conditioner to seep into the leather fibers.
3rd Step: Repeat the process if necessary
Do another application if the initial one failed to achieve the desired result. However, do not apply excess oil to your leather shoes as this may result in clogging of the leather pores. If possible, you should apply leather conditioner or cream to your leather shoes once a month. This will help the leather resist scuffing, scratches, cuts, and cracks.
See also: How to Protect White Leather Shoes
Use Leather Crack Filler to Fix Deep Cracks on Leather Shoes
If your leather shoes have deep cracks on them, then you may not be able to fix the problem by using a conditioner. But there is no need to fret, you can recondition your cracked leather shoes by using the process described below.
Materials you will require:
- Leather cleaner or mild soap
- Microfiber cloth
- Leather filler
- 600-grit fine sandpaper
- Applicator pad/sponge
- Blunt knife
- Hair dryer
- Leather dye
- Leather sealer
1st Step: Clean and dry the shoes
Remove any grime on the shoe’s surface using a soft clean cloth dampened with a solution of mild soap and water. A high-quality leather cleaner can also serve the same purpose. After cleaning, leave the shoes overnight to dry completely.
2nd Step: Level out the cracks
Take the 600-grit sandpaper and use it to smooth the cracks. Using mild pressure, scuff the cracked areas until the surface feels level to the touch. Grab the microfiber cloth and use it to wipe off residual dust.
3rd Step: Apply leather crack filler
Use the blunt knife to spread the filler on the cracks. Apply enough to ensure that the cracks are completely covered. Scrape off excess filler material using a blunt knife.
4th Step: Leave the shoes to dry
Let the shoes sit within a properly ventilated space for about 6 hours to dry completely. Note that as leather filler dries, it tends to shrink. Therefore, you may need to apply more layers of filler if necessary.
5th Step: Blend in the blemish using leather dye
The dye will help to further conceal the superficial damage. Make sure you select a dye that harmonizes with your shoe’s color. Spread a thin layer of the dye on the cracks ensuring that the dye is evenly distributed. Do this using the applicator pad or sponge.
Set the hair dryer on low heat and use it to dry the shoes. Two minutes is enough for the shoes to dry completely. While using the hairdryer, do not linger too much on a particular spot. This is because prolonged heat exposure can result in drying out of the leather. This may lead to staining or additional cracks.
You can repeat the above process until you achieve your desired results. Lastly, apply the leather sealer to the shoes. The leather sealer will help to condition the dye. To apply the sealer, first spray it onto a sponge or cloth and then massage it into the affected sections. Dry the shoes once more using the hairdryer. This last drying is to help the sealant cure.
Conclusion
Remember that cracks begin to develop on leather shoes when they dry out. Prevention, they say, is always better than cure. You can prevent cracks from developing on your leather work shoes by treating them with high quality leather conditioner regularly. And, if cracks ultimately develop, you can use the methods described here to fix your cracked leather shoes.


")

